Other projects from this group
8 Channels Infrared Receiver (Code Learner) With Arduino UNO
The source code and schematic of an “8 Channels Infrared Receiver” (two PWM) With ArduinoUNO, keypad/LCD shield and “HS0038A2” (or similar) IR receiver module.
Infrared Receiver Source Code For Arduino UNO - Rev 1.0
Price:
Other projects from this group
The IR receivers typically work in 37 KHz frequency. The “8 Channels Infrared Receiver” project receives the IR signal via HS0038A2 (or similar modules), which the module filters the 37 KHz signal and sends the data in 1 Kbps speed to the ArduinoUNO board.
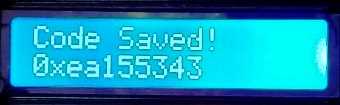
The UNO board analyses the data to the 32 bit data. In case the system is in “CodeLearn” mode, the code will be saved in the eeprom memory, otherwise it will compare with the saved codes.
If the desired channel is PWM, the duty cycle will increase or decrease. Also the last code will be shown on the LCD.
Also a buzzer will aware the user that the code has been successfully received.
It supports most of the TV and DVD player IR remote of SAMSUNG, LG, NEC chip, receivers and etc. the supported protocol is 16 bit data in the 32 bit carrier.
Also another project, “CodeLearn Infrared Remote With ATtiny 13A” is compatible with this receiver.
8 Channels Infrared Receiver Project’s Schematics
The wiring and connection of module is shown in the following figure:
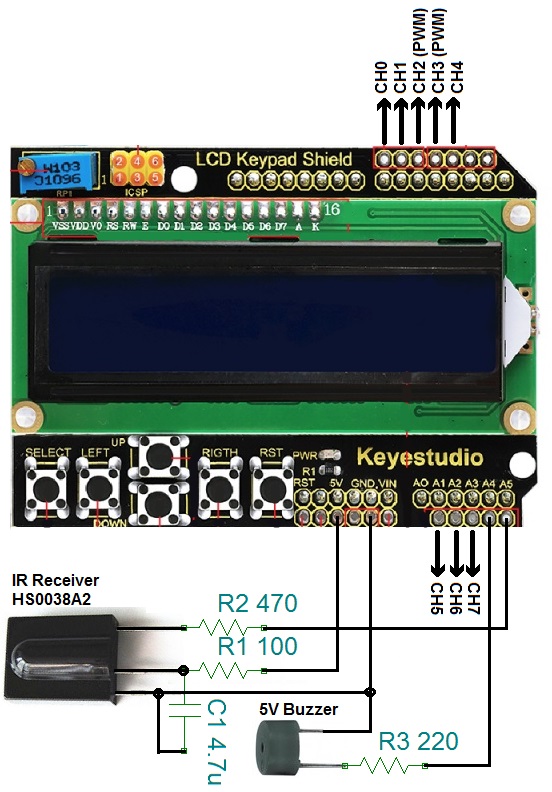
The Channels’ pins in ArduinoUNO:
CH0 -- 13
CH1 -- 12
CH2 -- 11 (PWM)
CH3 -- 3 (PWM)
CH4 -- 2
CH5 -- 15
CH6 -- 16
CH7 -- 17
8 Channels Infrared Receiver Project Files
This project contains a folder ArduinoUNOIRReceiver (the arduino source code) which contains 4 files:
- ArduinoUNOIRReceiver.ino – the main program
- CodeLearn.ino (Code learning source code and eeprom save)
- settings.h (configuration and variables headerfile)
- IR.ino (Infrared receiver source codes)
First open one of the files with Arduino program, then set the board on “Arduino UNO” (Toolsàboard).
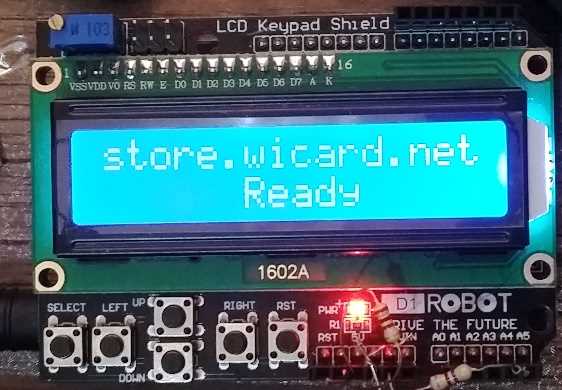
Compile and upload the program and wait until the LCD turns off and then turns back on.
Then the following message will be shown on the screen:
With pushing the “select” button, the code learning menu will be appeared. With pushing the other buttons, the device will go to the “Receive” state.
8 Channels Infrared Receiver Code Learning
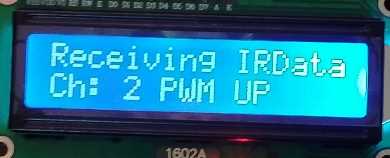
After entering in the code learning menu, select your desired channel with UP and DOWN buttons. And then push the “select” button.
If the channel supports PWM, it will lead to the PWM or High/Low selection menu, otherwise the system wait for the infrared data to saving it to the memory.
Choose PWM or High/Low with UP and DOWN button. Then push the “select” button.
For the PWM mode, two different IR codes (from two different buttons on the IR remote control) must be entered, one for increasing the PWM duty cycle (UP) and on for decreasing it (down).
Aftern setting the channels, you can enter to the “Receive” mode by pushing the LEFT or RIGHT buttons.
Also the latest received command will be shown on the LCD
Use a PWM Amplifier in case of driving the motors, LEDs and etc. with the PWM channels.
1.0
- Programming and the algorithm design for the code learn infrared receiver
- Designing the menus